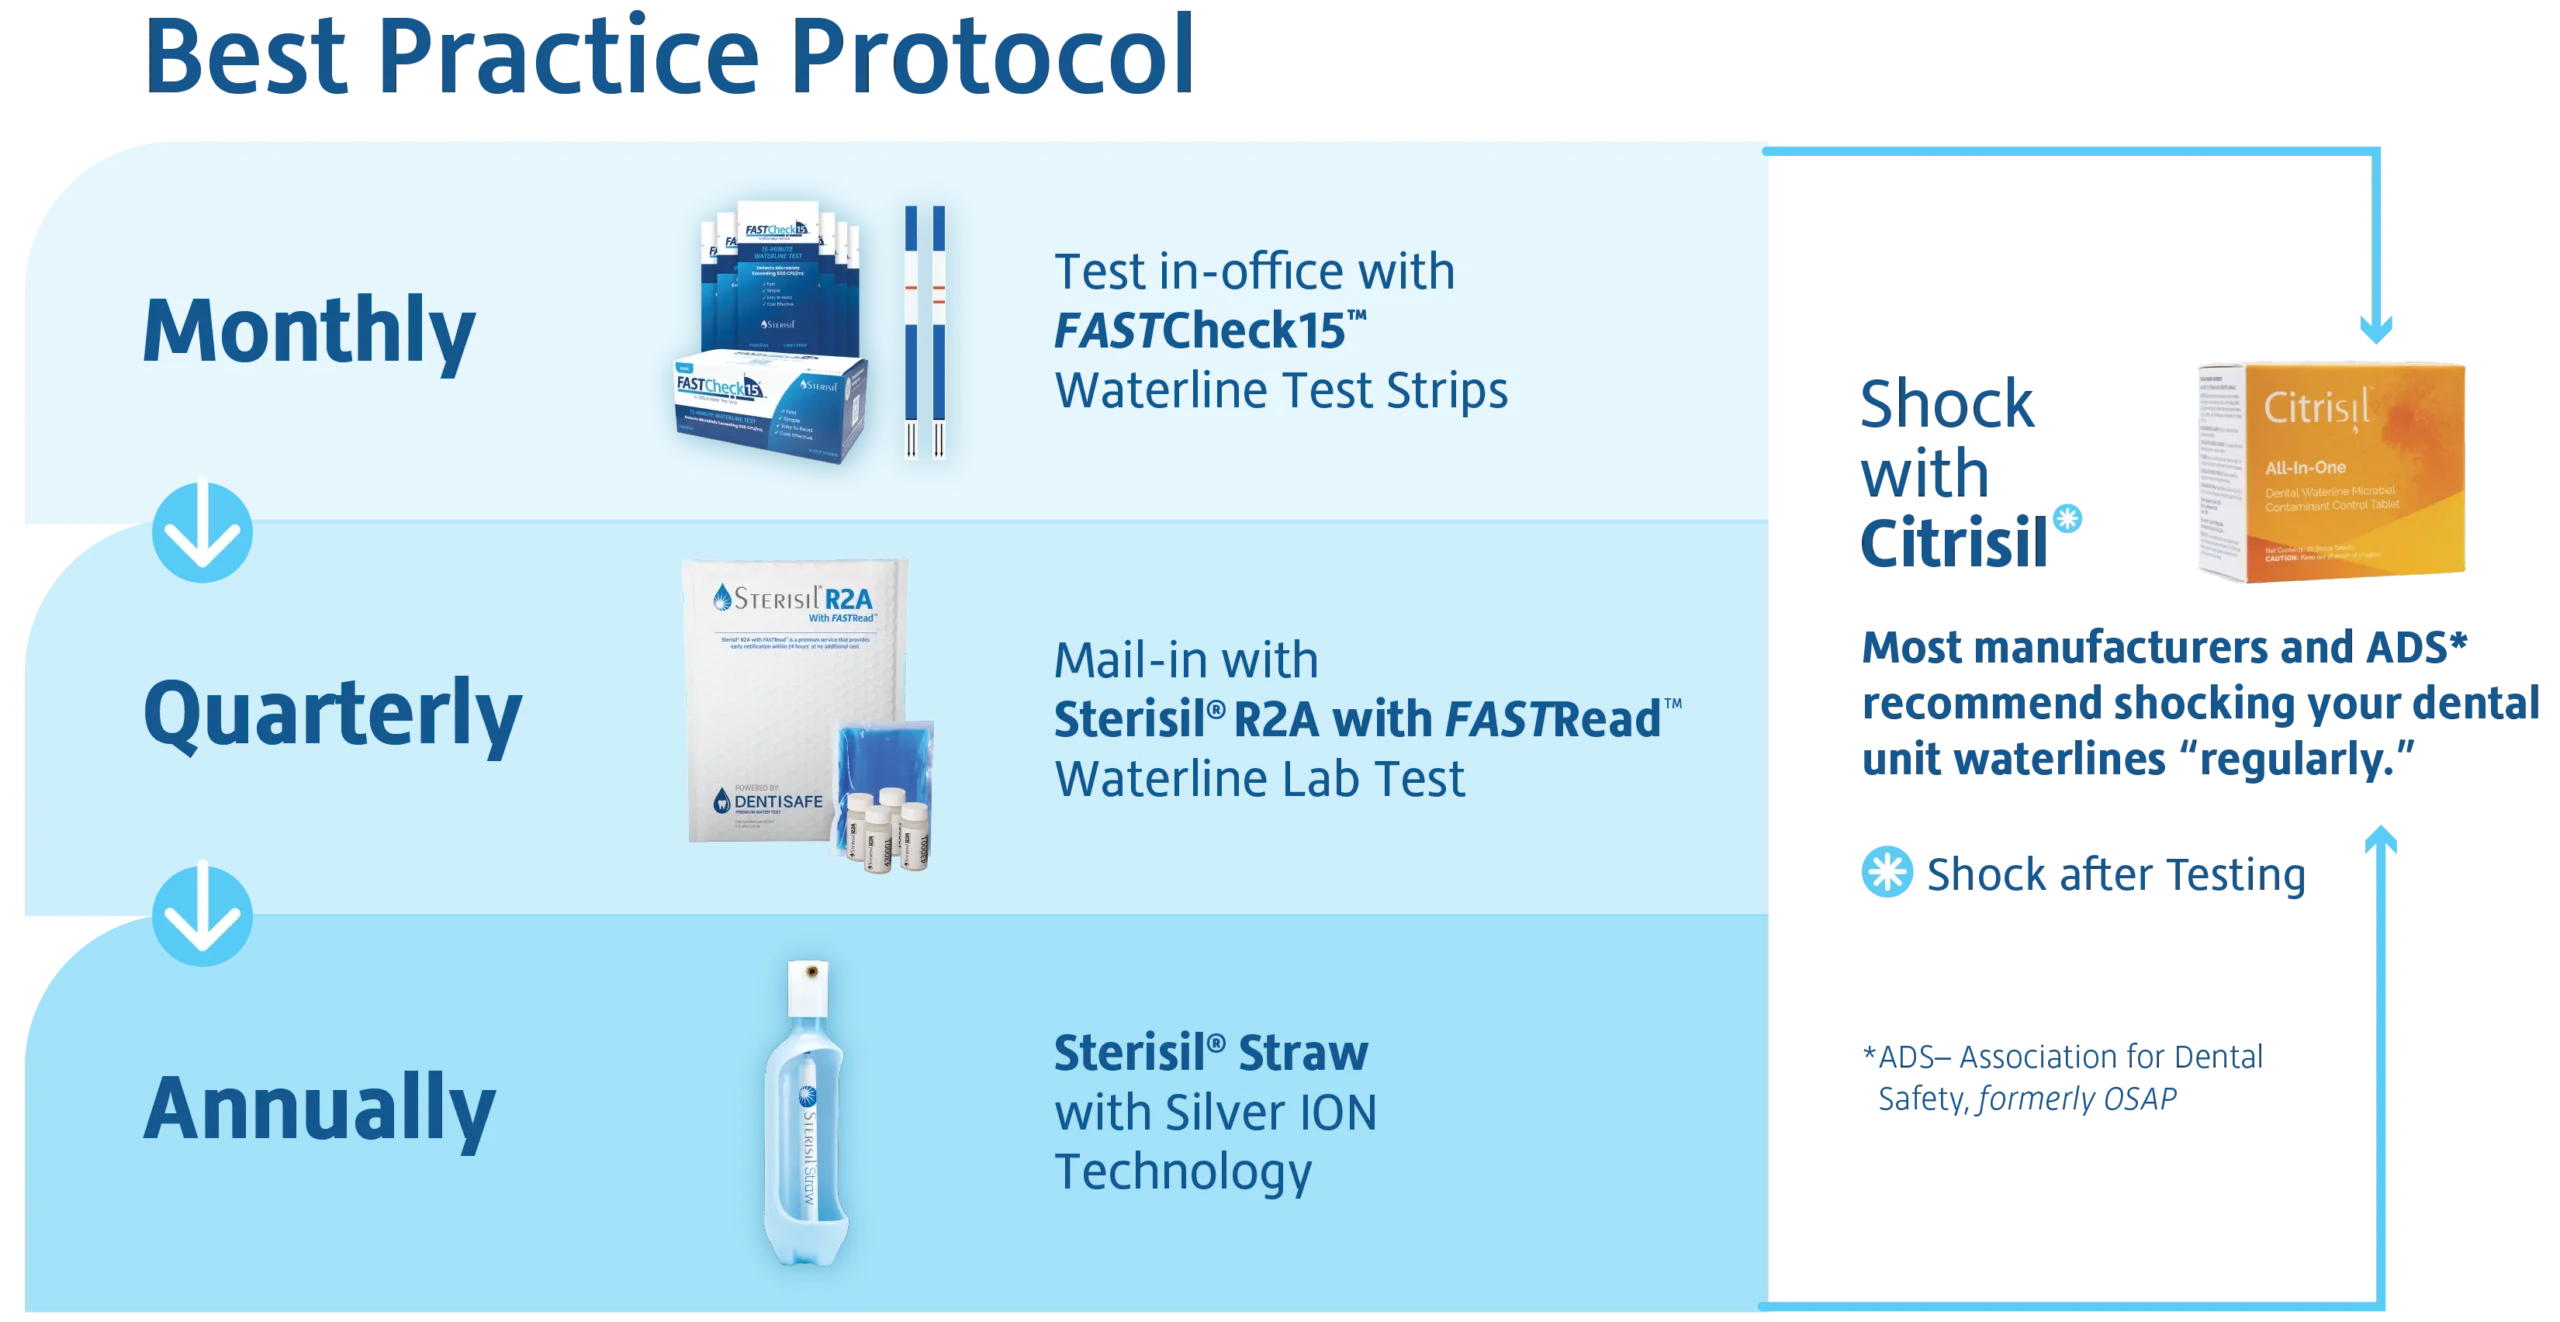
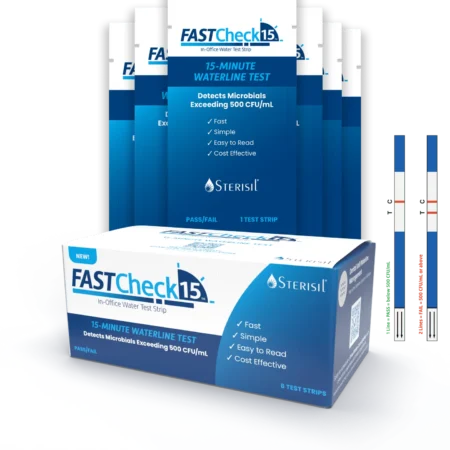
FASTCheck15™
In-Office Waterline Test Strip
- Quick, conclusive results
- Easy-to-read test strip
- Most affordable testing option
Instructions for Use, Print-Friendly PDF

Instructions for Use
- Get Ready
- Perform hand hygiene and wear disposable treatment gloves
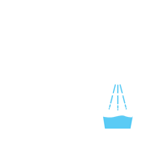
- Flush waterlines for a minimum of 10 seconds
- Open pouch and lay pipette, vial, and test strip on a clean, flat surface
- Using a permanent marker, label vial with sample location and date
- Collect
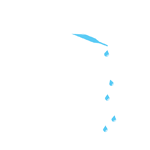
5. Collect water sample from the handpiece in a clean cup*
*Sample can be collected from each waterline in a multi-source sample so long as those lines originate from the same water source.
- Using the pipette, draw water from the collection cup
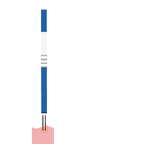
- Place 5 (FIVE) drops of water into the vial. DO NOT FILL TO LINE.
- Prep
8. Gently swirl the vial to mix reagent in the vial with the water
NOTE: the vial is pre-coated with a reagent (pink in color)
- Place on a flat surface and set timer for 5 (FIVE) minutes
- Gently swirl the vial again and ensure reagent is dissolved
- Test
- Place the test strip in the vial with the ARROWS FACING DOWN ⬇️
- Place back on a flat surface and set timer for 10 (TEN) minutes
- Read and Document Results

- Read results and document them for each operatory in the My Solutions Center Portal, ensuring compliant record keeping as recommended by the CDC, ADA, and OSAP.
- 1 Line = PASS = below 500 CFU/mL
- 2 Lines = FAIL = 500 CFU/mL or above
- If Fail, see “Failed Test Result Protocol” for instructions to make your water safe again.
Troubleshooting
- If no lines appear, test is invalid. Repeat testing instructions with a new test kit.
- Make sure that each step is followed closely, and the timer is set to the exact times noted in the instructions.
- Too much water in the vial can dilute the reagent preventing any lines from displaying.
Did your water test fail? We’re here to help!
1 Line = PASS
Congratulations you passed!
Click the button below to find out the next steps in your dental unit waterline safety protocol.
2 Lines = FAIL
Don’t worry, we’ve got your back!
Click the button below to find out the next steps in your dental unit waterline safety protocol.
The Sterisil® SAFEWater Solution Protocol
Follow these simple steps for waterline success.
Ensure consistent waterline safety, compliance, and protection for your patients. Regular in-office testing, combined with proper shock protocols, will help you pass more tests, and keep your operatories up and running.
Failed a Test?
It happens.
Here’s what to do:
First do this:
Shock and retest .
Failed again?
Call us. We can help.
877.207.1551
Solmetex® Product Series


My Solutions Center™
Don’t have an account? Register now.
Recycling Labels & Certificates
Print your recycling shipping labels and access recycling certificates to maintain EPA Dental Amalgam Rule compliance.
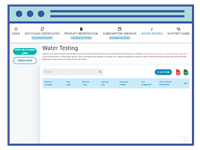
Monitor Dental Office Waterlines
Log and retrieve water test results to keep your water clean and safe! Our online log of mail-in and in-office waterline test results make it easy.
Automate Product Deliveries
Create and manage product subscriptions for your dental practice and have them shipped direct from your preferred distributor!