Your cart is currently empty!

How to Properly Collect A Dental Waterline Sample: A Comprehensive Guide

Ensuring the safety of dental unit waterlines is paramount for patient health and regulatory compliance. Georgia’s Rule 150-8-.05 mandates that water used in nonsurgical dental procedures must meet the EPA standards for drinking water, specifically ≤500 CFUs/mL. Proper techniques for collecting a dental waterline sample are crucial to accurately assess water quality and prevent potential health risks associated with biofilm contamination.
Why Comprehensive Waterline Sampling Matters
Biofilm formation in DUWLs can lead to significant bacterial contamination, posing risks to both patients and dental staff. Notably, ultrasonic scalers, side carts, or lines that are infrequently used are prone to stagnation, creating “dead legs” where biofilm can thrive. Therefore, it’s essential to test all waterlines, including those not regularly used, to obtain an accurate assessment of water quality.

Step-by-Step Guide to Collecting A Dental Waterline Sample
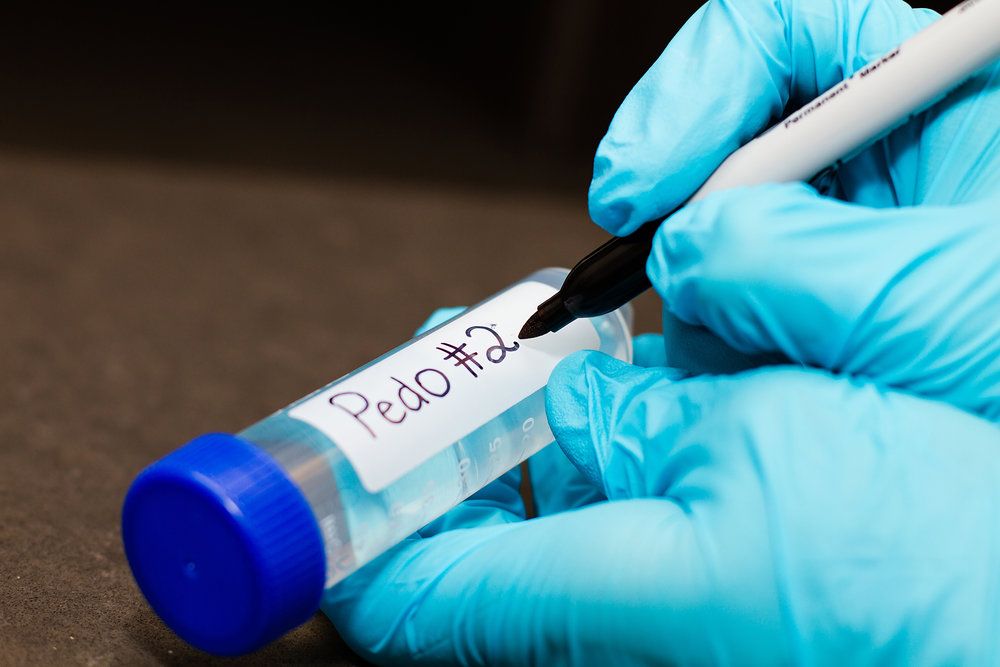
Tip: Always label your samples with the date, operatory number, and which line you pulled from.
Identify All Waterlines for Testing
In each operatory, identify all waterlines that deliver water to patients, including:
- High-speed handpiece line
- Air/water syringe lines
- Ultrasonic scaler line
- Any additional lines (e.g., side carts, assistant’s syringes)
Even if certain lines are not frequently used, they must be included in the testing process to ensure comprehensive assessment.
Flush All Lines
Before collecting samples, flush each waterline for 20–30 seconds. This step helps remove stagnant water and provides a sample that reflects typical usage conditions.
Use Appropriate Sampling Kits
Use kits designed to test bacteria commonly found in dental unit waterlines. Both in-office and mail-in lab tests may be used.
- Both in-office and mail-in lab tests offer benefits that meet the needs of the practice.
- In-Office tests: affordable and can provide faster results, which can offer more frequent testing for improved compliance.
- Mail-In lab tests: results validated by an independent expert with a comprehensive report that includes CFU count for documentation.
- Don’t shock or treat the waterlines before testing – this would invalidate results.
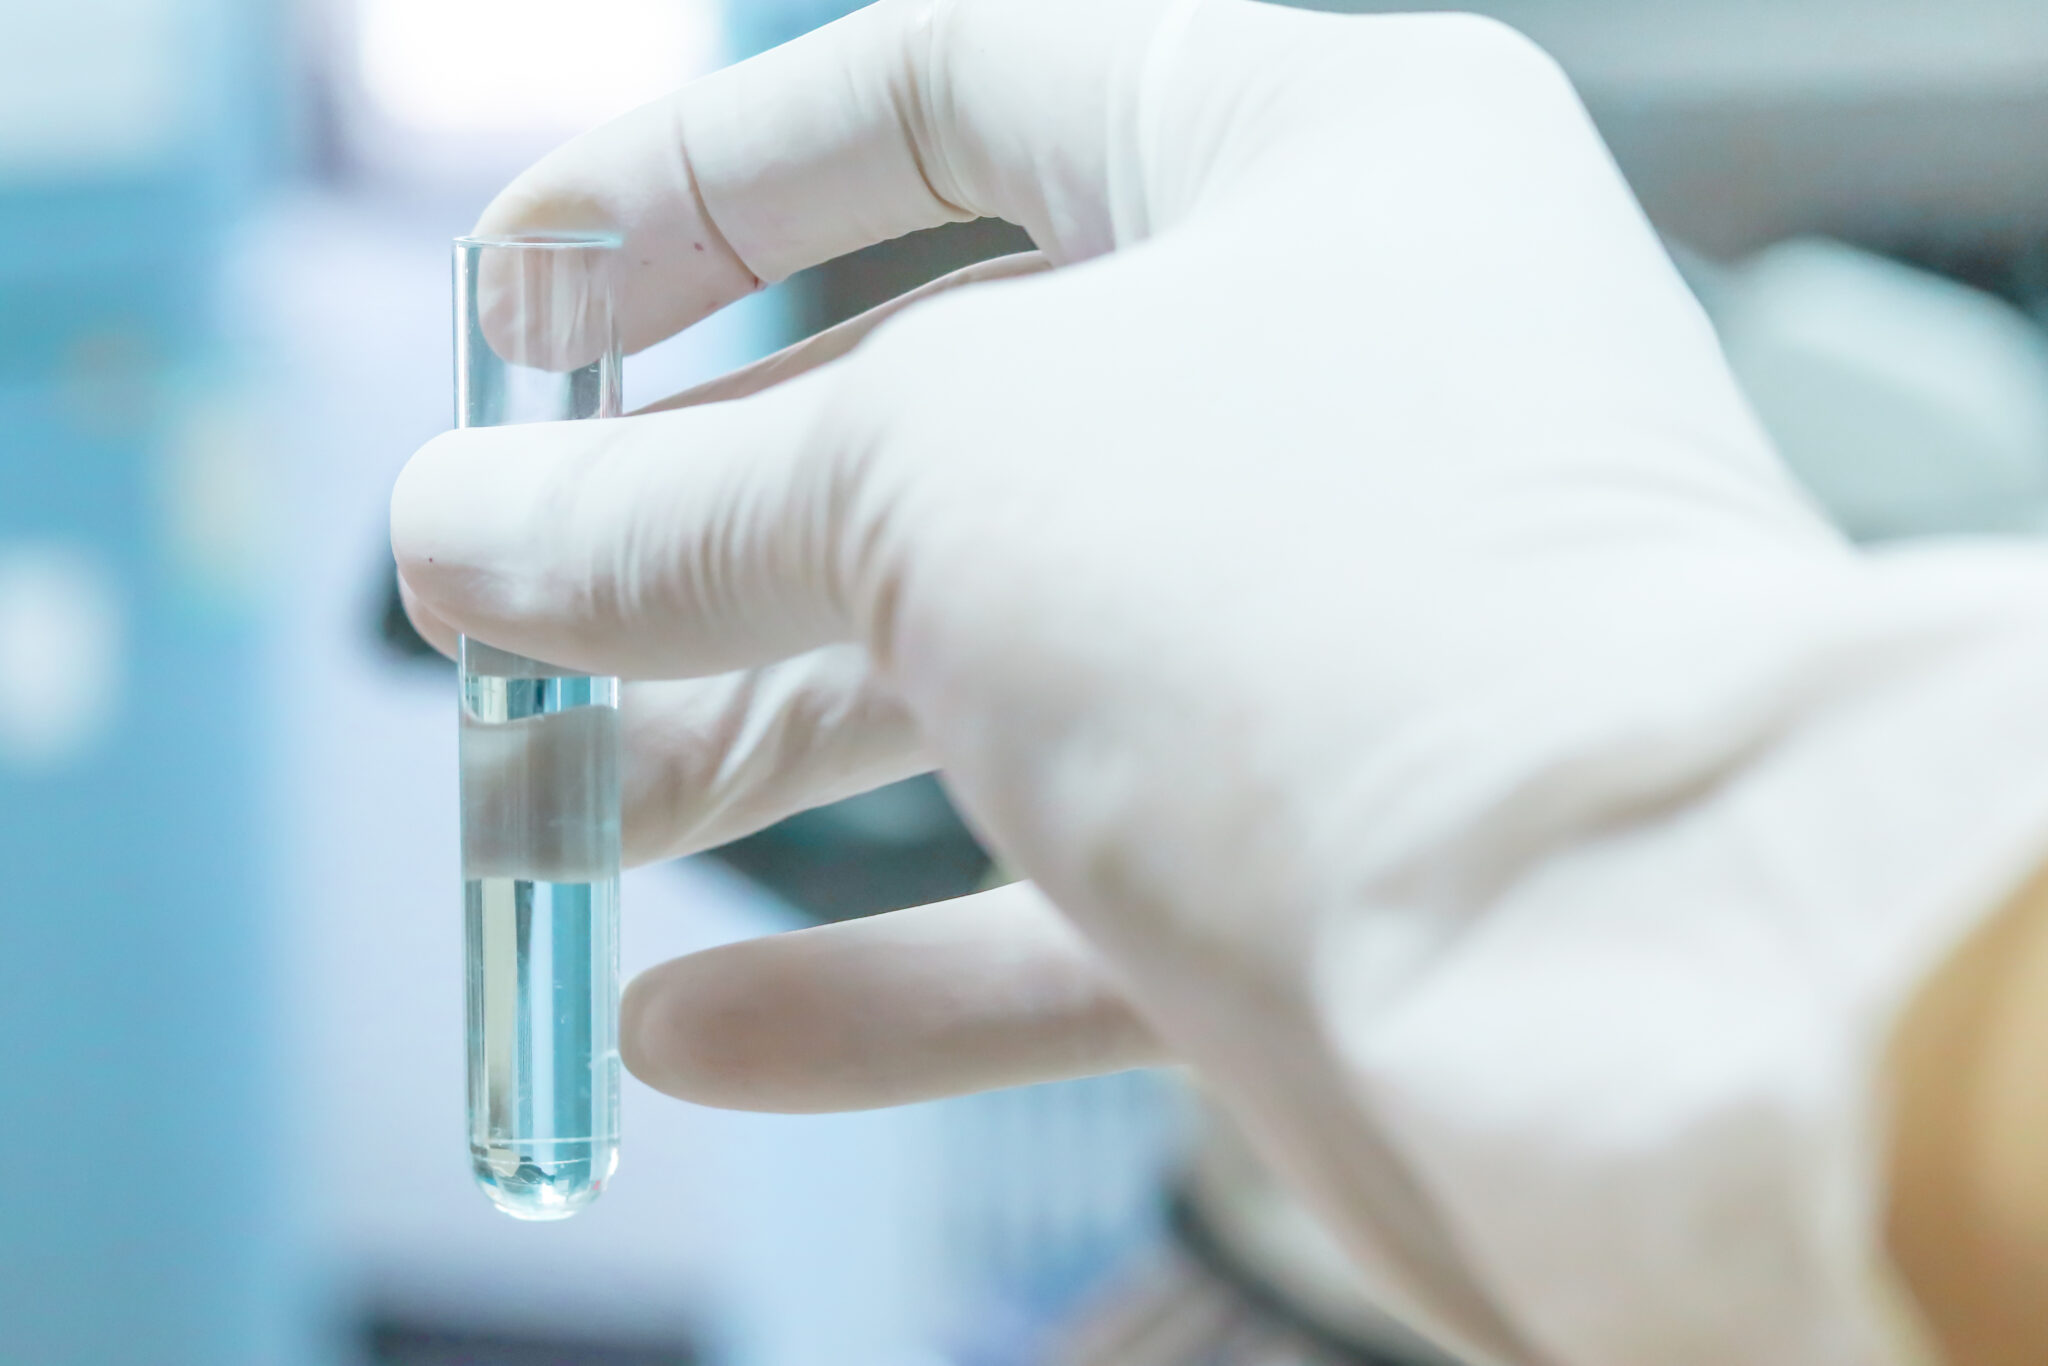
Collect Samples
When collecting a dental waterline sample:
- Perform hand hygiene and wear gloves.
- Avoid touching the inside of the vial or cap.
- Keep the vial open for the shortest time possible.
- Follow the IFU as test product sampling can vary product to product.
- Label each vial with the date, operatory number, and specific line sampled.
Consider Pooled Sampling
Georgia’s regulations allow for pooled sampling of up to 10 waterlines, provided that equal volumes from each line are combined to draw a sample from, and detailed records are maintained. However, be aware that if a pooled sample fails, remediation is required for all lines until passing results are achieved.
Ship Samples Promptly
Store the collected samples in a refrigerator until shipment. Ship samples to the testing laboratory as soon as possible, ideally within 24 hours of collection, to ensure accurate results.

Interpreting Test Results
Test results indicating bacterial counts above 500 CFU/mL signify a failure and necessitate immediate action:
- 501–1,000 CFU/mL: Early contamination
- 1,001–10,000 CFU/mL: Moderate to heavy biofilm presence
- Over 10,000 CFU/mL: Severe contamination
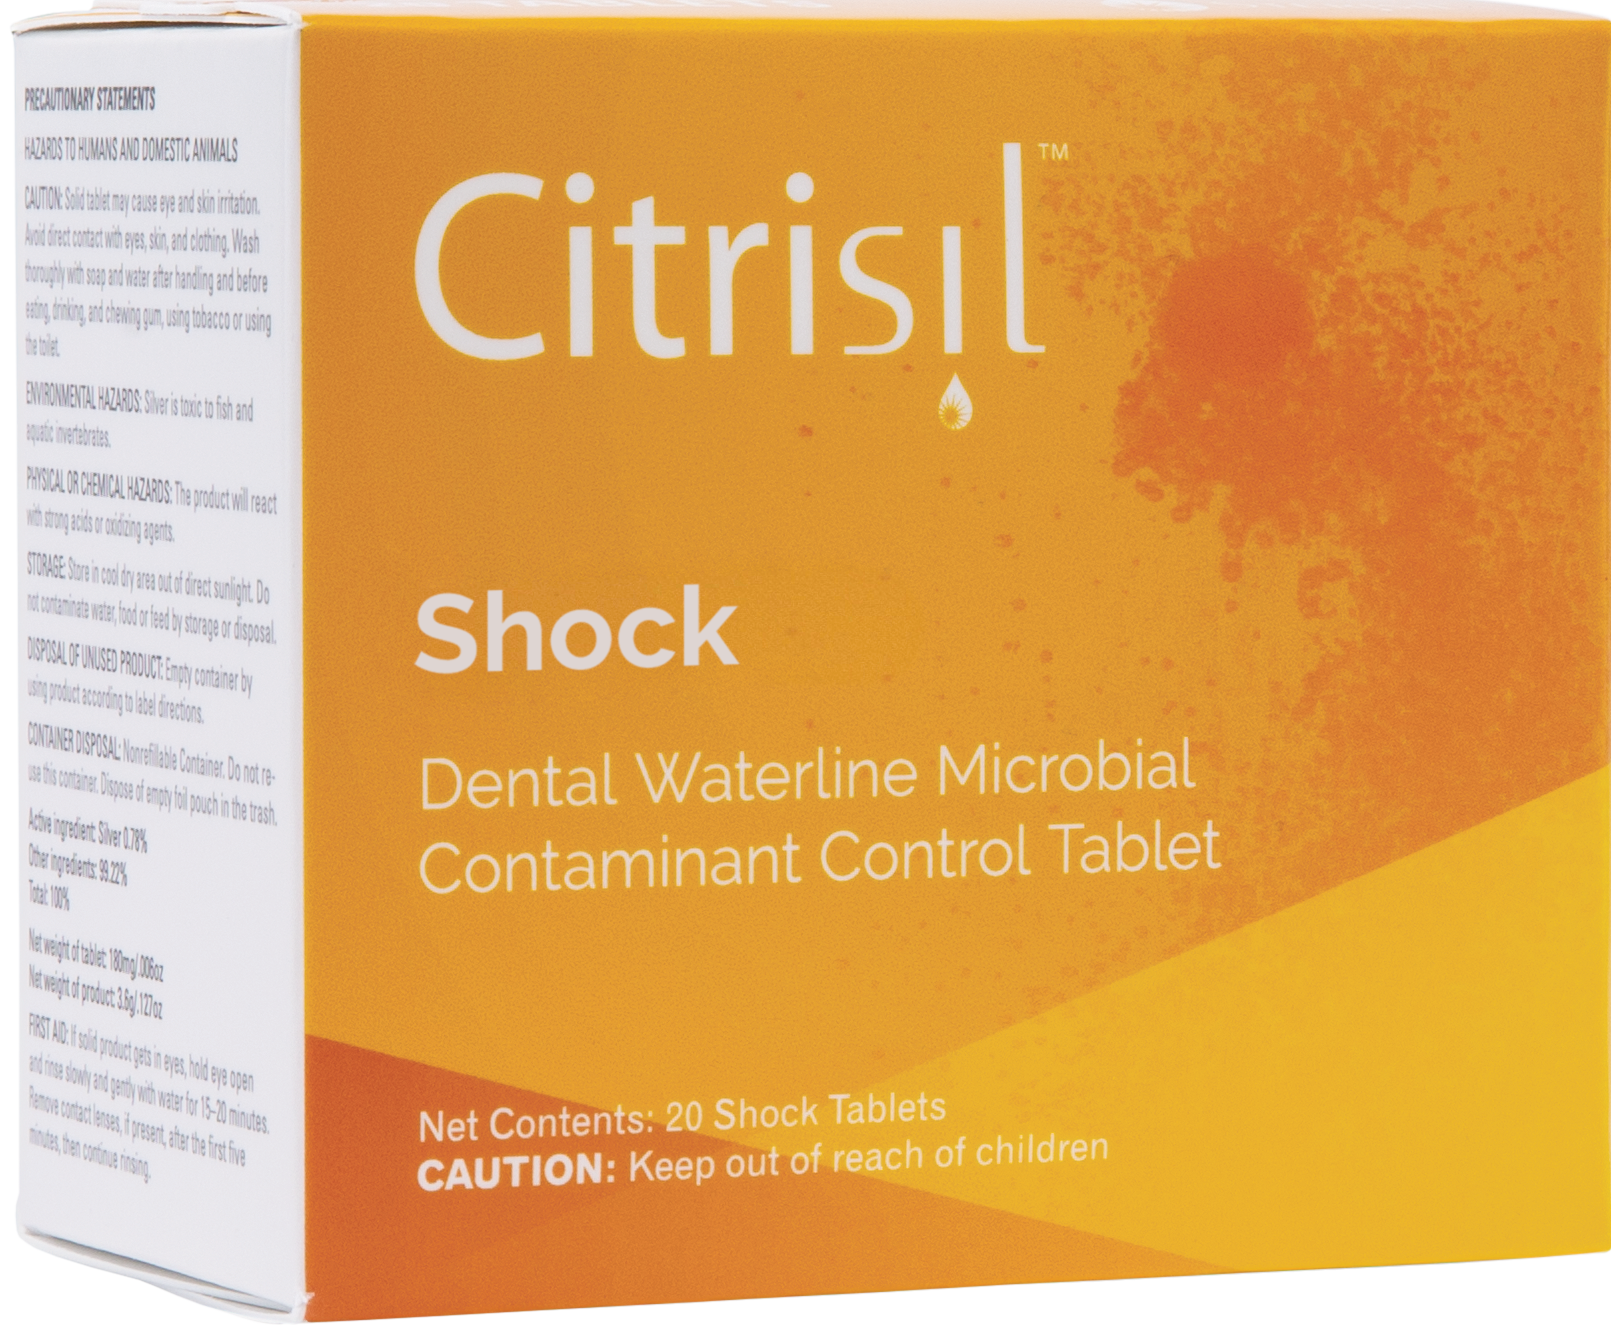
In such cases, shock all waterlines using an EPA-registered product specifically designed for dental waterlines. Follow the manufacturer’s instructions for proper usage. After treatment, retest to confirm that bacterial levels have returned to acceptable standards.
Maintenance and Compliance Tips
Regular Testing: Conduct waterline testing quarterly, as mandated by Georgia’s Rule 150-8-.05.
Record Keeping: Maintain detailed records of all testing activities, including dates, personnel involved, and results, for a minimum of five years.
Use of EPA-Registered Products: Only use disinfectants and maintenance products that are EPA-registered for use in dental waterlines. Avoid off-label or household cleaning agents, as they may leave harmful residues or be ineffective against biofilms.
Addressing Dead Legs: Identify and manage “dead legs” in the waterline system. Consider removing or regularly flushing unused lines to help prevent biofilm formation.
Consult Manufacturer Guidelines: Always refer to the dental unit and waterline treatment manufacturers’ instructions for use (IFUs) to ensure proper maintenance and compliance.
Final Thoughts on Pulling A Dental Waterline Sample
Proper collection and testing of dental waterline samples are critical components of infection control and patient safety. By adhering to comprehensive sampling protocols and staying informed about regulatory requirements, dental practices can effectively manage water quality and maintain compliance with Georgia’s Rule 150-8-.05.
Yes – all lines in all chairs need to be tested quarterly.
Yes — Georgia allows pooled testing from up to 10 lines max. Just be sure to combine equal volumes from each waterline and document exactly which operatories and lines were included. Keep in mind: if the pooled sample fails, remediation is required until all lines achieve passing results. Shock must be run through every line according to the manufacturer’s instructions and retested.
Yes — but only for 20–30 seconds. This mimics clinical use. Don’t overflush, shock, or run cleaners before pulling the sample.
No. Testing the bottle water doesn’t account for biofilm in the lines. Always test at the point of use — i.e., the tip of the device used on patients.
Biofilm can be stubborn. If you fail a test after shocking, it’s likely that there is a significant bacterial load and you’ll have to shock and retest again. If you continue to fail, contact our Water Specialists at (877) 207-1551 for support, and we’ll help you decide next steps.
Sterisil Straw + Citrisil Shock = Products are compatible. Do not remove Sterisil Straw Sterisil Straw + Non-Sterisil Shock = Remove straw and insert dummy straw. Failure to do so will destroy the straw. All other straws + any shock = Remove straw and insert a dummy straw. Failure to do so will destroy the straw.
Share this post:

Related Posts


