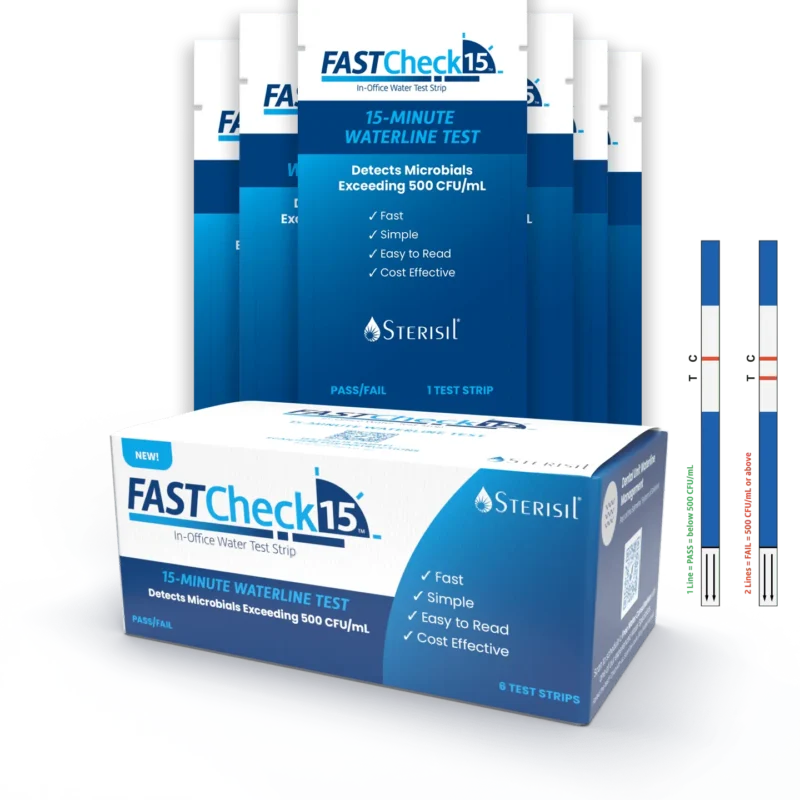
FASTCheck15
Striscia per il test della linea di galleggiamento in ufficio
➡️ Risultati rapidi e conclusivi
➡️ Striscia reattiva di facile lettura
➡️ L'opzione di test più conveniente
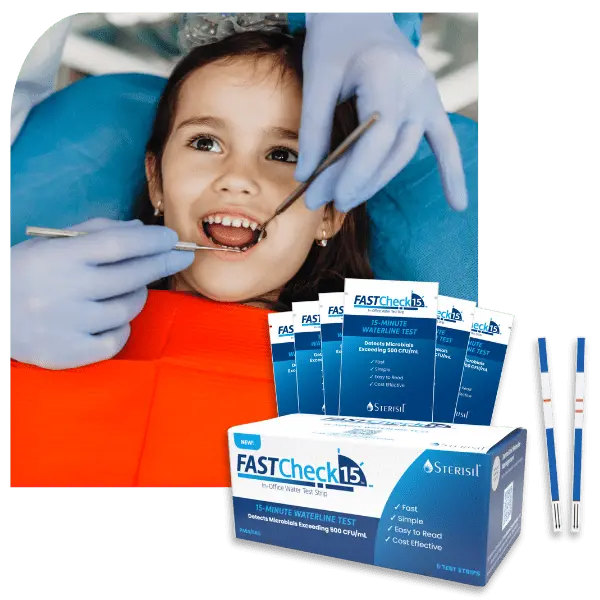
Istruzioni per l'uso
1. PRONTO
- Eseguire l'igiene delle mani e indossare guanti monouso per il trattamento
- Sciacquare le linee d'acqua per almeno 10 secondi.
- Aprire la busta e disporre la pipetta, la fiala e la striscia reattiva su una superficie piana e pulita.
- Con un pennarello indelebile, etichettare la fiala con la posizione e la data del campione.
2. RACCOLTA
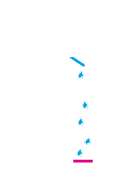
5. Collect water sample from the handpiece in a clean cup*
*Sample can be collected from each waterline in a multi-source sample so long as those lines originate from the same water source.
6. Con la pipetta, prelevare l'acqua dalla tazza di raccolta.
7. Introdurre 5 (CINQUE) gocce d'acqua nella fiala. NON RIEMPIRE FINO AL LIMITE.
3. PREPARAZIONE

8. Gently swirl the vial to mix reagent in the vial with the water
NOTE: the vial is pre-coated with a reagent (pink in color)
9. Posizionare su una superficie piana e impostare il timer per 5 (CINQUE) minuti.
10. Agitare di nuovo delicatamente la fiala e assicurarsi che il reagente sia disciolto.
4. TEST
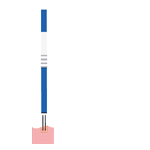
11. Inserire la striscia reattiva nella fiala con le FRECCE rivolte verso il basso ⬇️
12. Lasciare la striscia reattiva nella fiala e attendere 10 (DIECI) minuti.
5. LEGGERE E DOCUMENTARE I RISULTATI

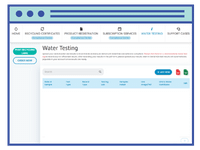
13. Leggere i risultati e documentare i risultati di ciascun intervento in Il mio Centro Soluzioni per la conservazione di importanti registrazioni, come raccomandato da CDC, ADA, OSHA e OSAP.
1 Linea = PASS = inferiore a 500 CFU/mL
2 linee = FALLIMENTO = 500 CFU/mL o superiore
In caso di esito negativo, consultare il "Protocollo per i risultati negativi del test" per le istruzioni su come rendere l'acqua nuovamente sicura.
Risoluzione dei problemi
- Se non compaiono linee, il test non è valido. Ripetere le istruzioni per il test con un nuovo kit.
- Assicuratevi che ogni fase sia seguita attentamente e che il timer sia impostato sui tempi esatti indicati nelle istruzioni.
- Una quantità eccessiva di acqua nella fiala può diluire il reagente impedendo la visualizzazione delle linee.
Il test dell'acqua non è andato a buon fine?
Siamo qui per aiutarvi!
1 Linea = PASS
Congratulazioni per aver superato il test!
Fare clic sul pulsante sottostante per scoprire le fasi successive del protocollo di sicurezza della linea di galleggiamento del riunito.
2 linee = FALLIMENTO
Non preoccupatevi, vi copriamo le spalle!
Fare clic sul pulsante sottostante per scoprire le fasi successive del protocollo di sicurezza della linea di galleggiamento del riunito.
Il protocollo della soluzione Sterisil® SAFEWater
Seguite questi semplici passaggi per avere successo con la linea di galleggiamento.
Garantite ai vostri pazienti sicurezza, conformità e protezione costanti della linea d'acqua. Un controllo regolare in studio, unito a protocolli d'urto adeguati, vi aiuterà a superare un maggior numero di test e a mantenere i vostri ambulatori efficienti.
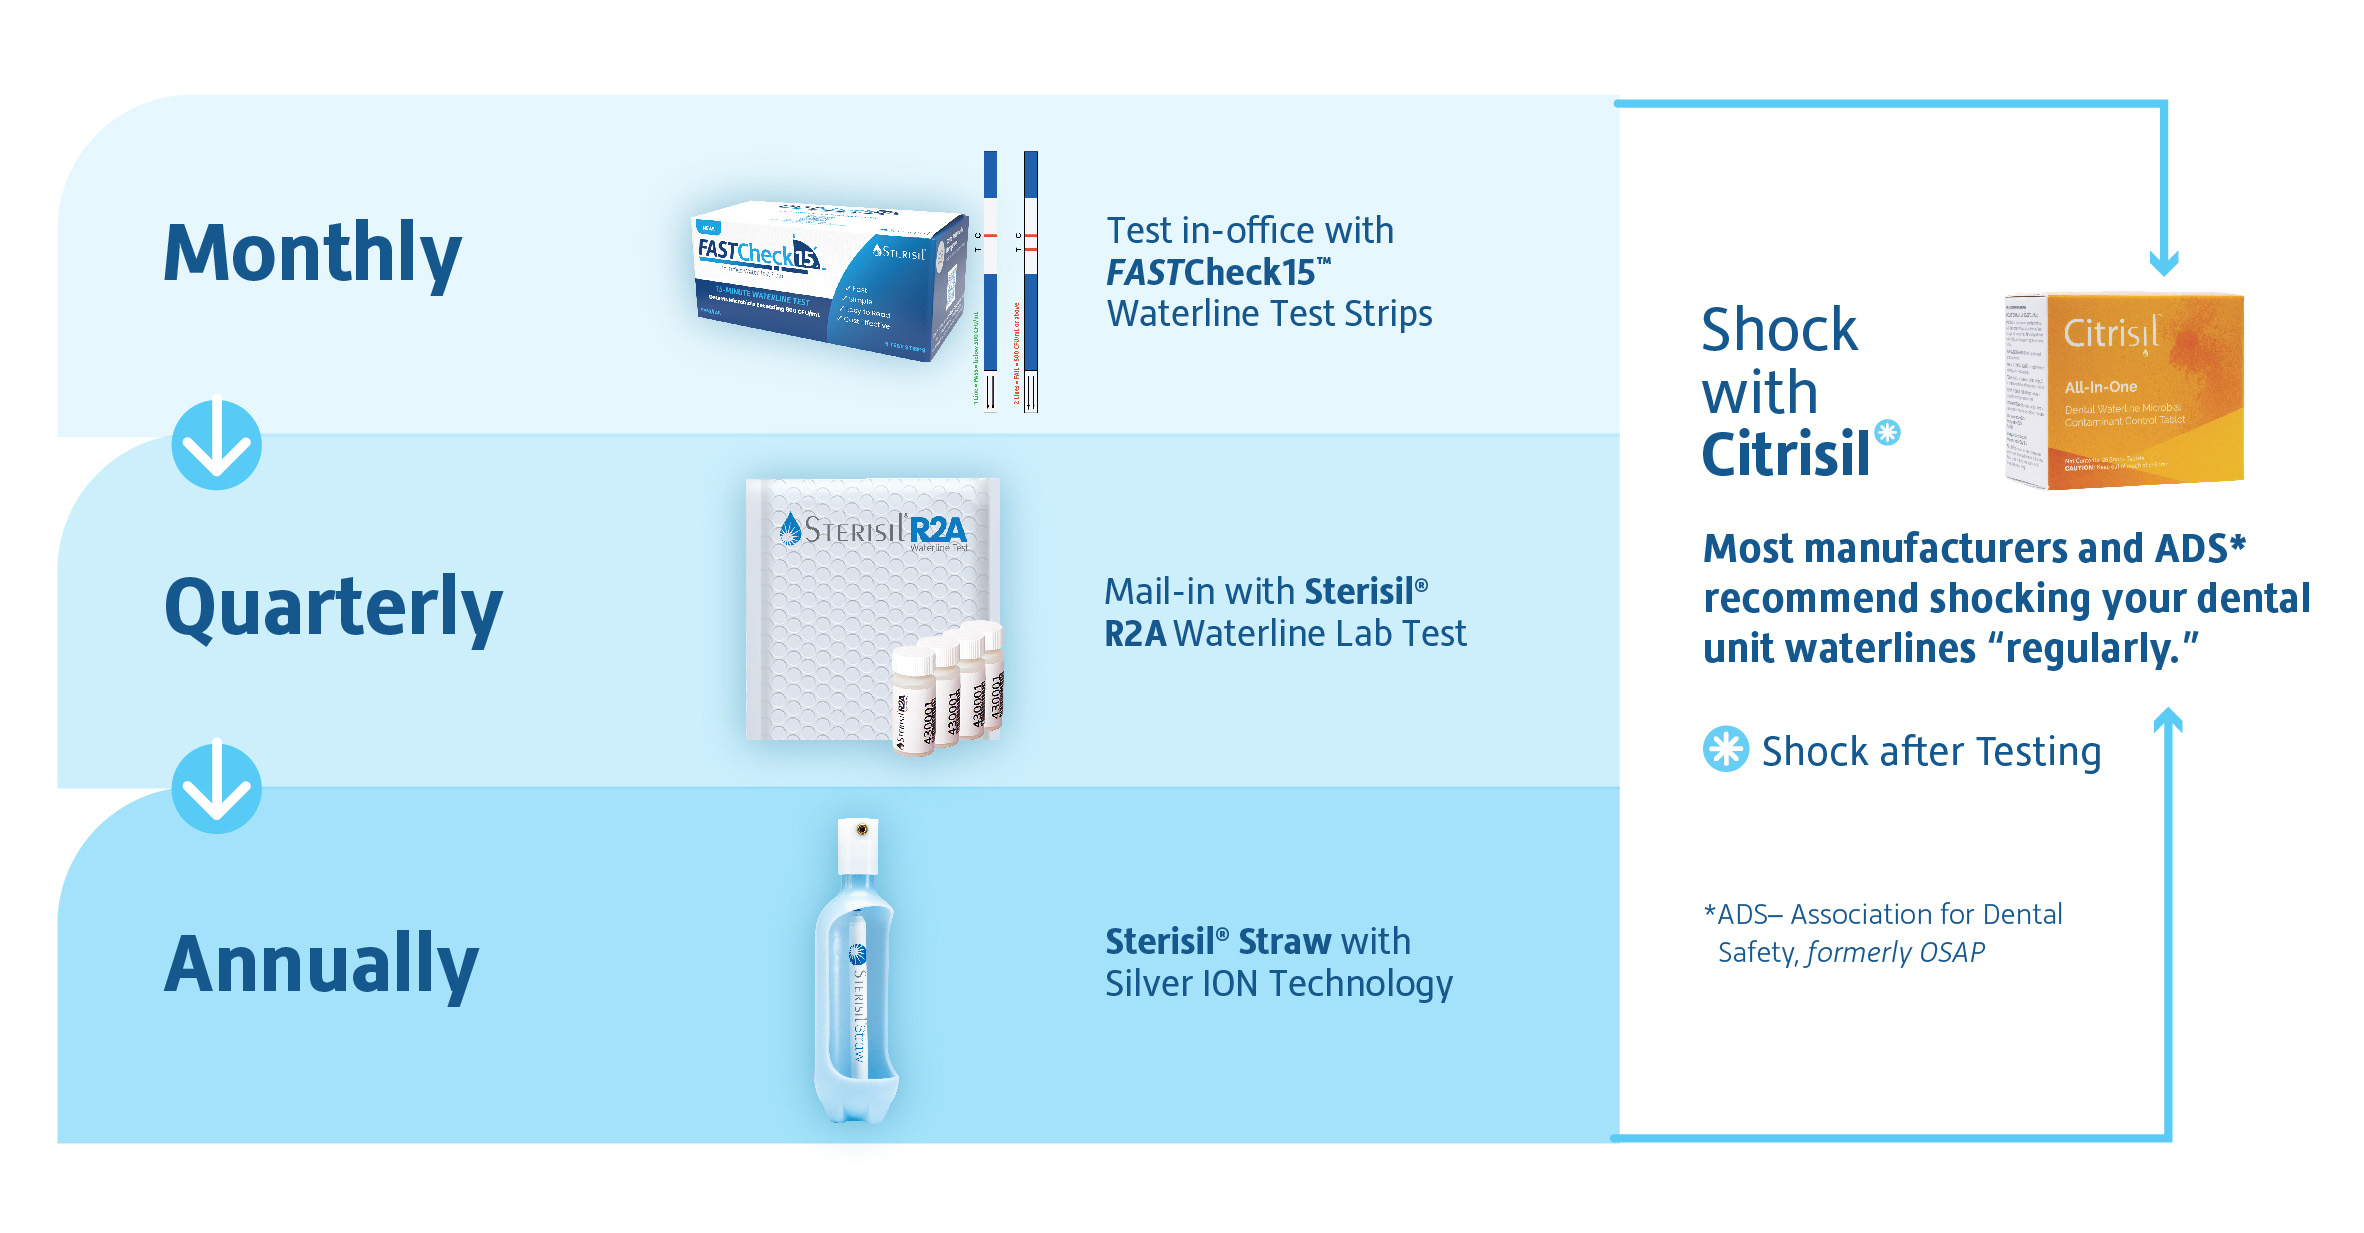
Non avete superato un test?
Succede.
Ecco cosa fare:
Per prima cosa fate così:
Shock
and retest.
Fallito di nuovo?
Chiamateci. Possiamo aiutarvi:
877-207-1551


